

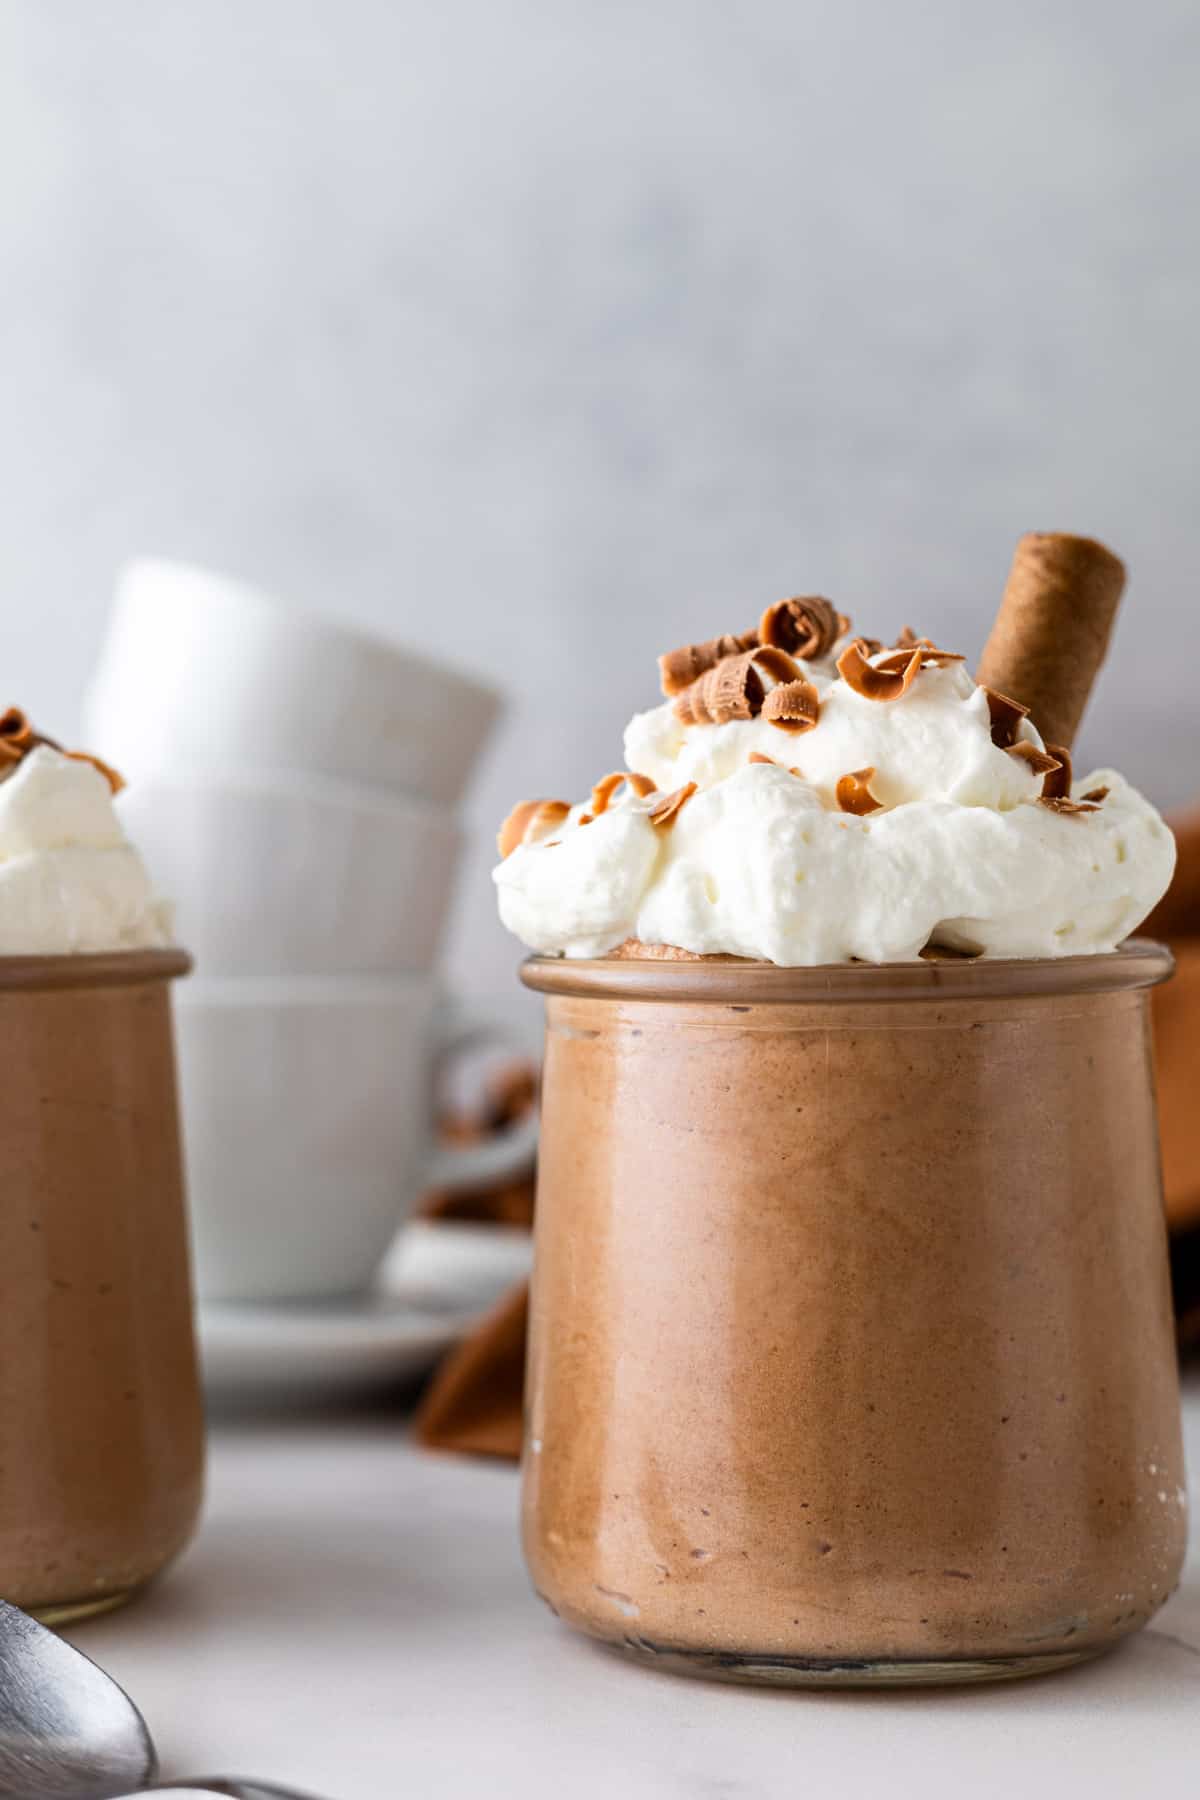
Light and airy Coffee Mousse is rich in mocha flavor. The fluffy dessert takes minutes to prepare with only five ingredients. Enjoy decadent mousse any night of the week.
This eggless, gelatin-free coffee mousse recipe has five simple ingredients. It is made by folding whipped cream into a chocolate-coffee mixture made from mascarpone, brewed coffee, sugar, and melted chocolate. Like in coffee scones and coffee muffins, coffee's fragrant, rich flavor permeates the mousse.
Chocolate coffee mousse is the perfect dessert for chocolate and coffee lovers alike. This impressive-looking dessert takes little effort and few ingredients, making it ideal for dinner parties or any special occasion. However, the ease of this mousse makes it perfect for any day of the week.
Jump to:
Chocolate Coffee Mousse Recipe
The irresistible mocha flavor comes from the combination of strong coffee and semi-sweet chocolate. The texture of the mousse is light and airy, while the taste is rich and decadent.
- Simple Ingredients: You need only five ingredients to make a luscious, decadent chocolate espresso mousse.
- Eggless: Unlike many mousse recipes, this one is made without eggs or gelatin.
- Coffee Flavor: Fragrant, rich coffee taste infuses the dessert. The slightly bitter flavor blends with tangy mascarpone and sweet chocolate to create an irresistible no-bake dessert.
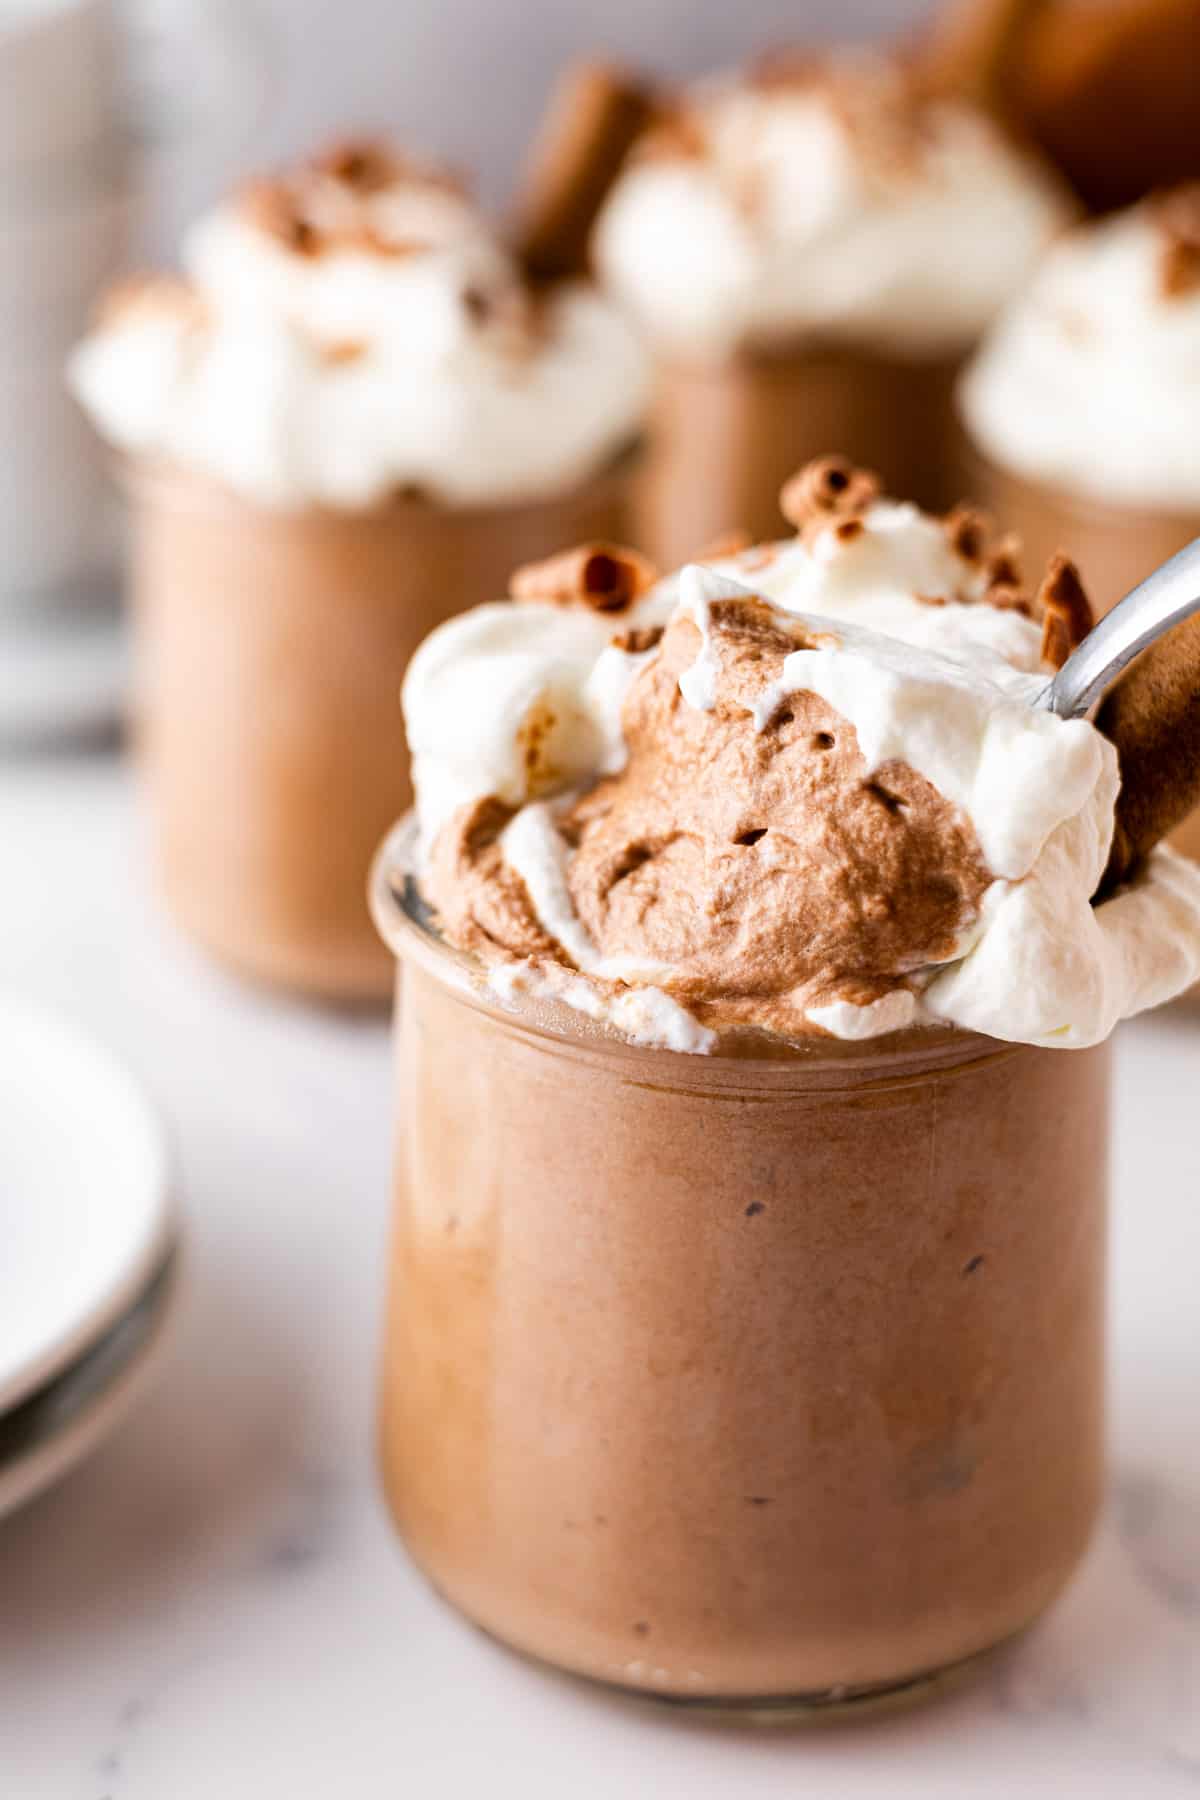
- Creamy Dessert: The finished mousse is velvety and rich. Each bite melts in your mouth.
Ingredients
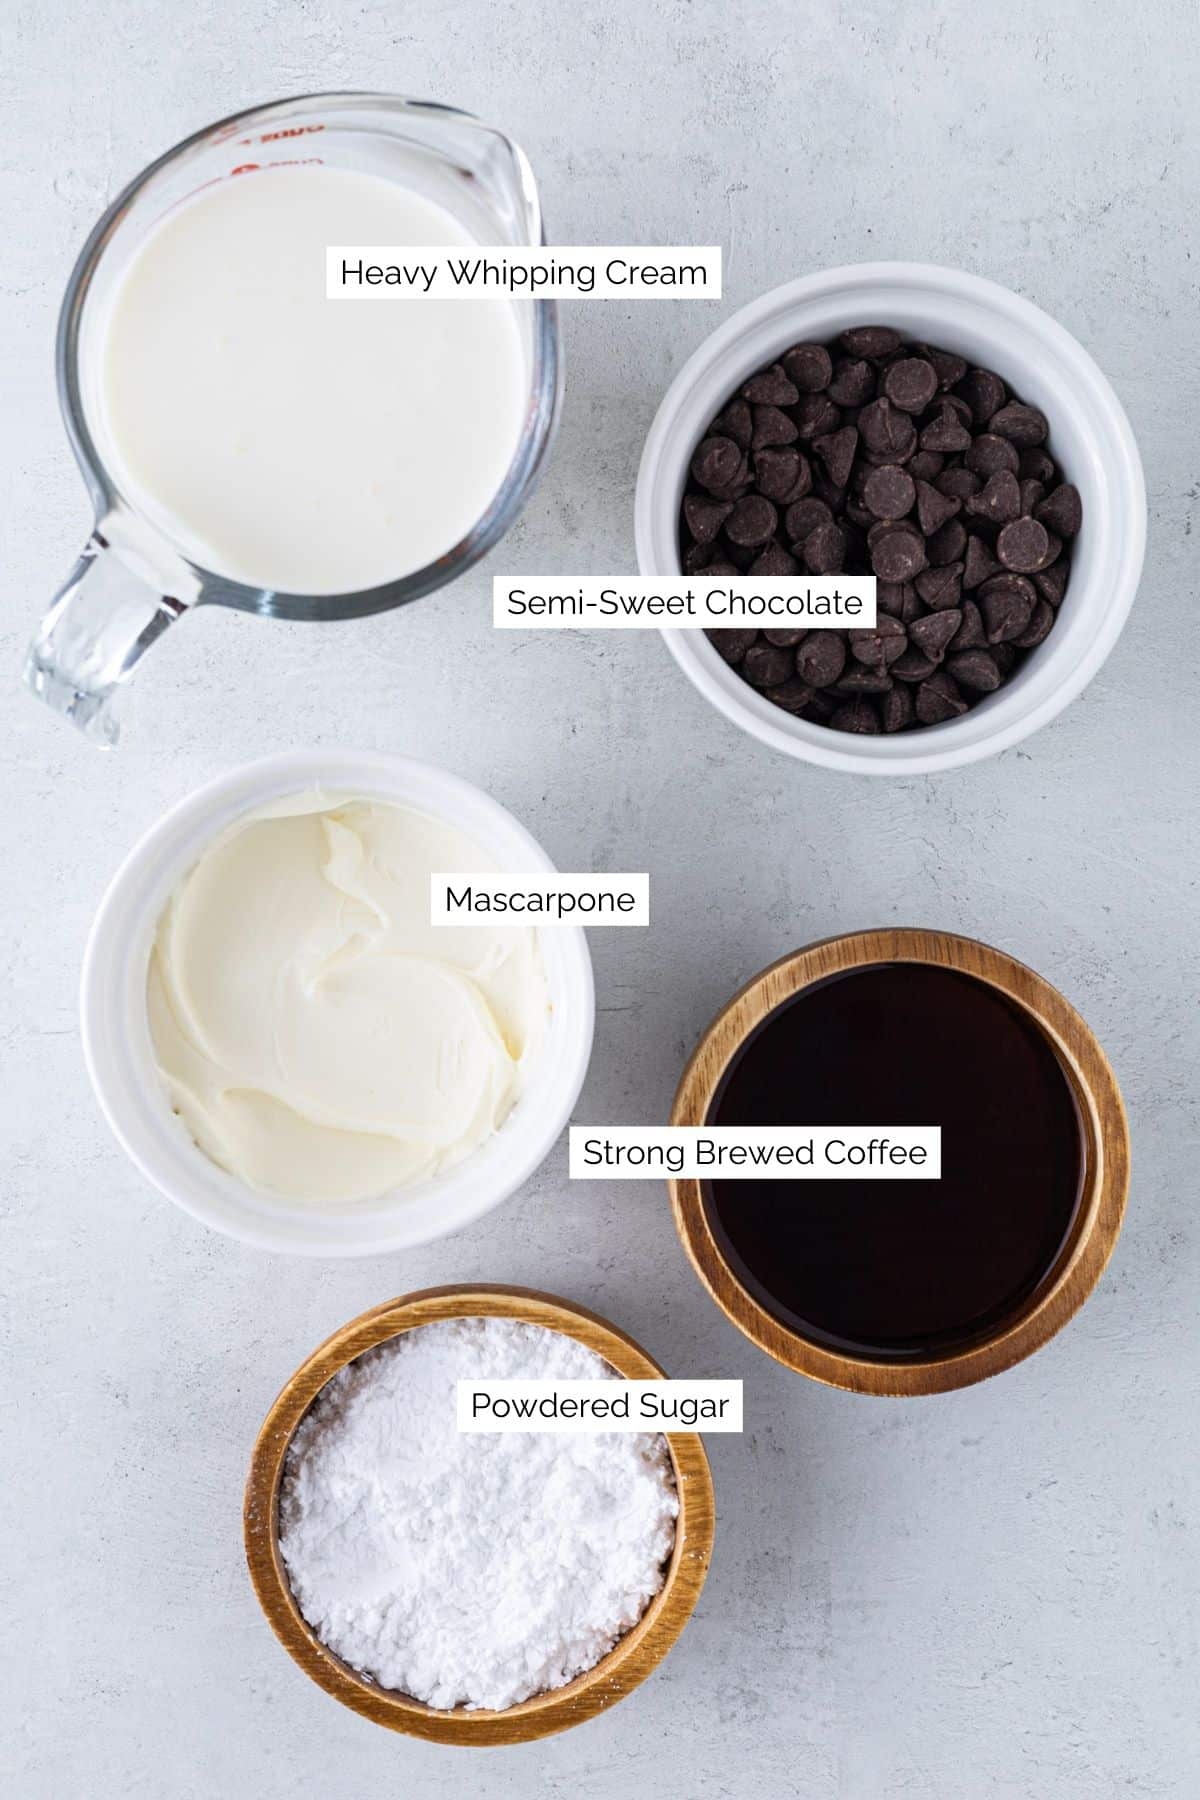
- Heavy Whipping Cream (cold): Cold heavy cream whips to stiff peaks. The whipped cream promotes rich flavor and a light, fluffy mousse texture.
- Mascarpone: Like tiramisu, this mousse relies on mascarpone for body and richness.
- Espresso or Coffee (cooled): The coffee flavor comes from brewed espresso or strong black coffee whisked straight into the mousse mixture. The stronger your coffee, the more flavor you will taste.
- Powdered Sugar (sifted): A small amount of sugar sweetens the mousse just enough without being overly sweet.
- Semi-Sweet Chocolate (melted and cooled): Use chopped chocolate or chocolate chips. Swap milk chocolate or dark chocolate for the semi-sweet chocolate if desired.
See the recipe card for ingredient quantities.
Step-By-Step Instructions
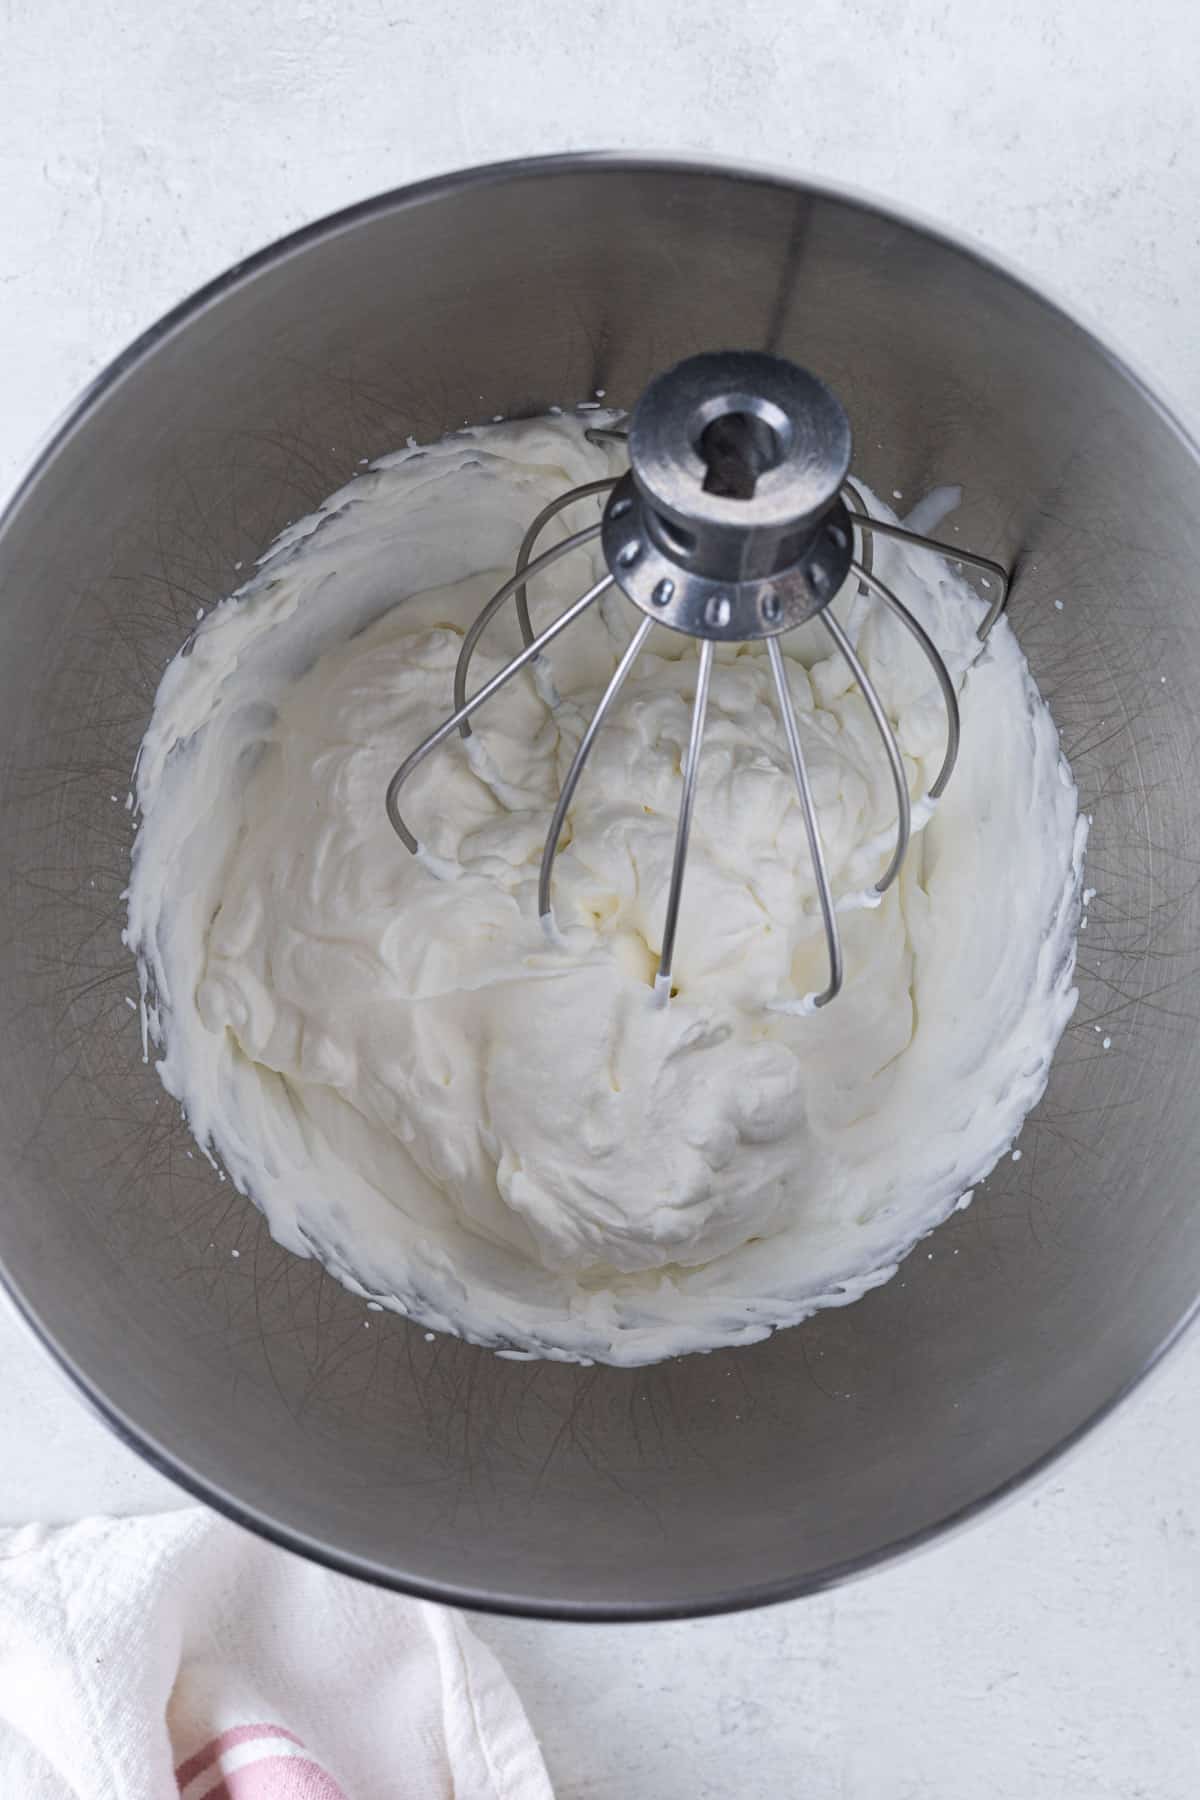
- Whip the heavy cream using an electric mixer until stiff peaks form.
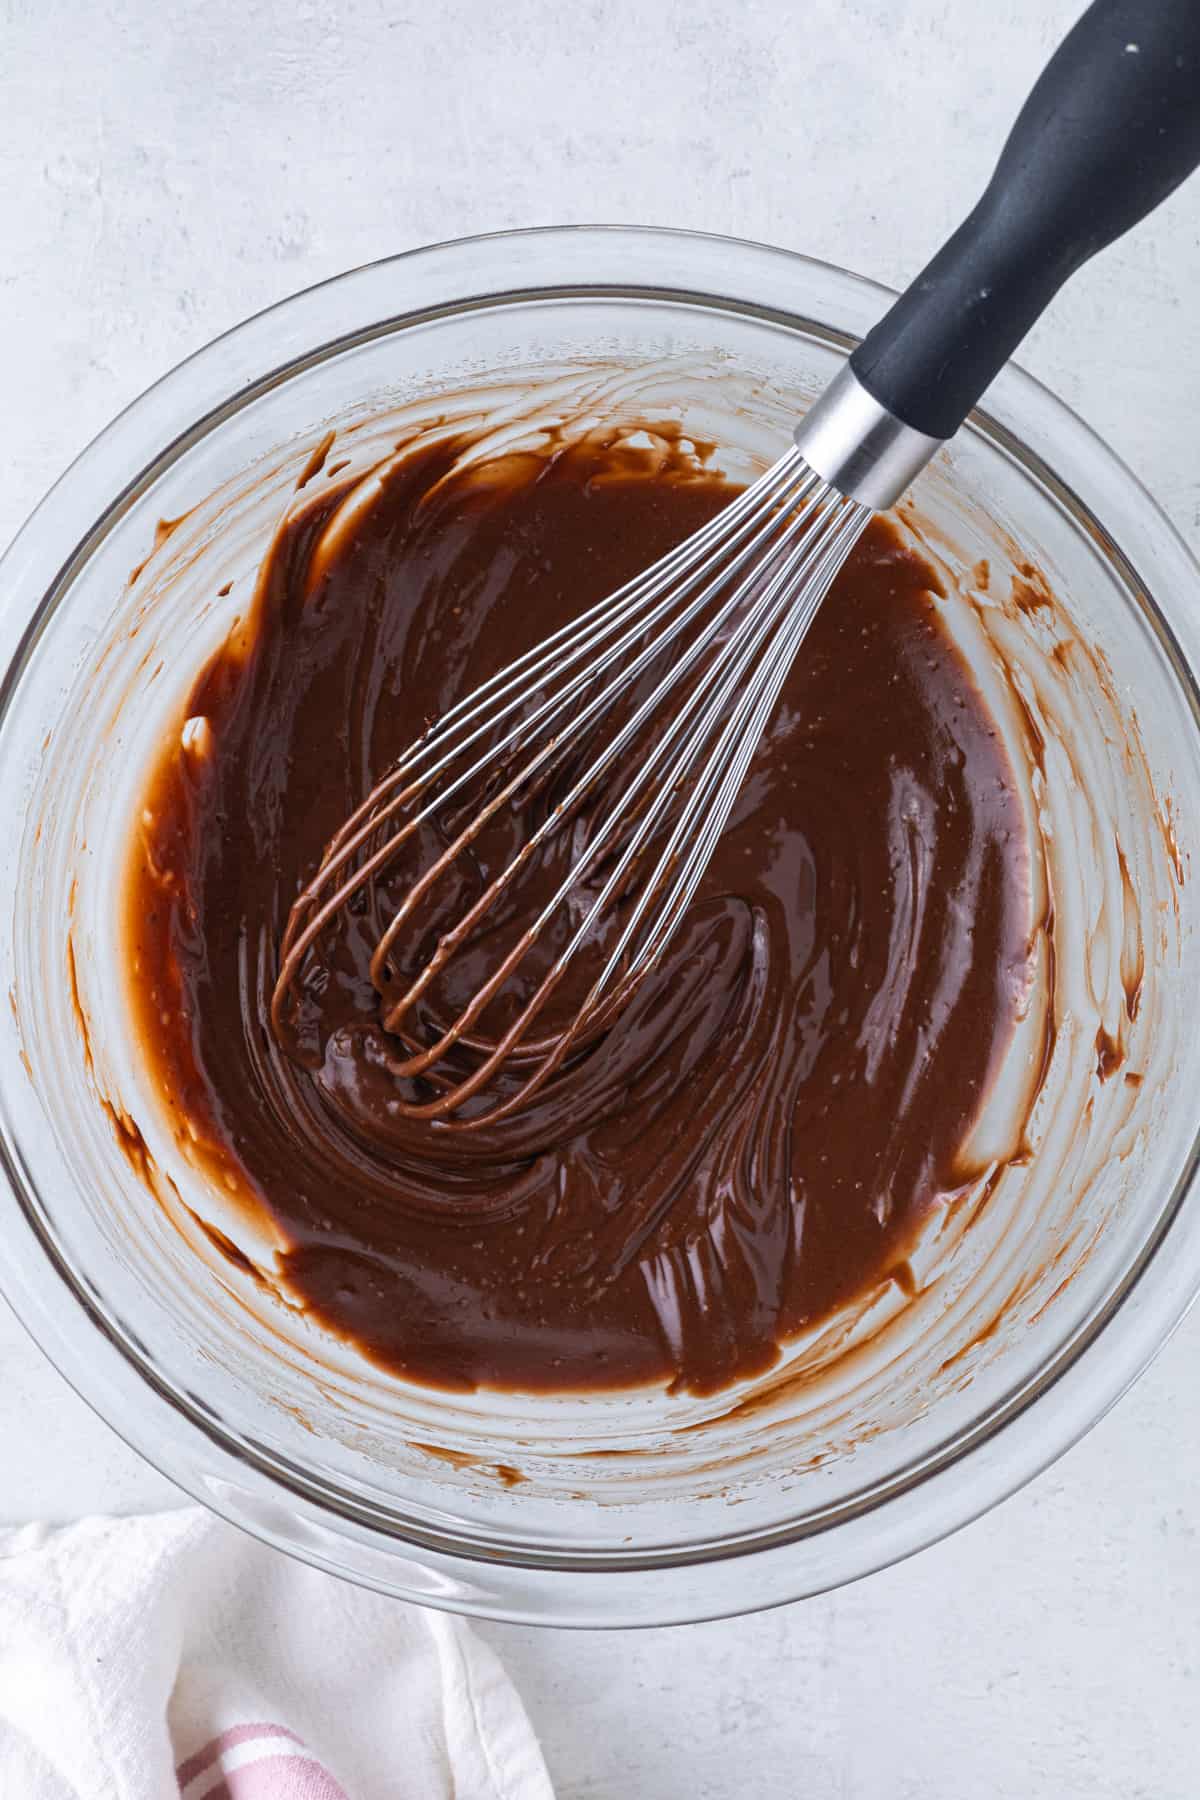
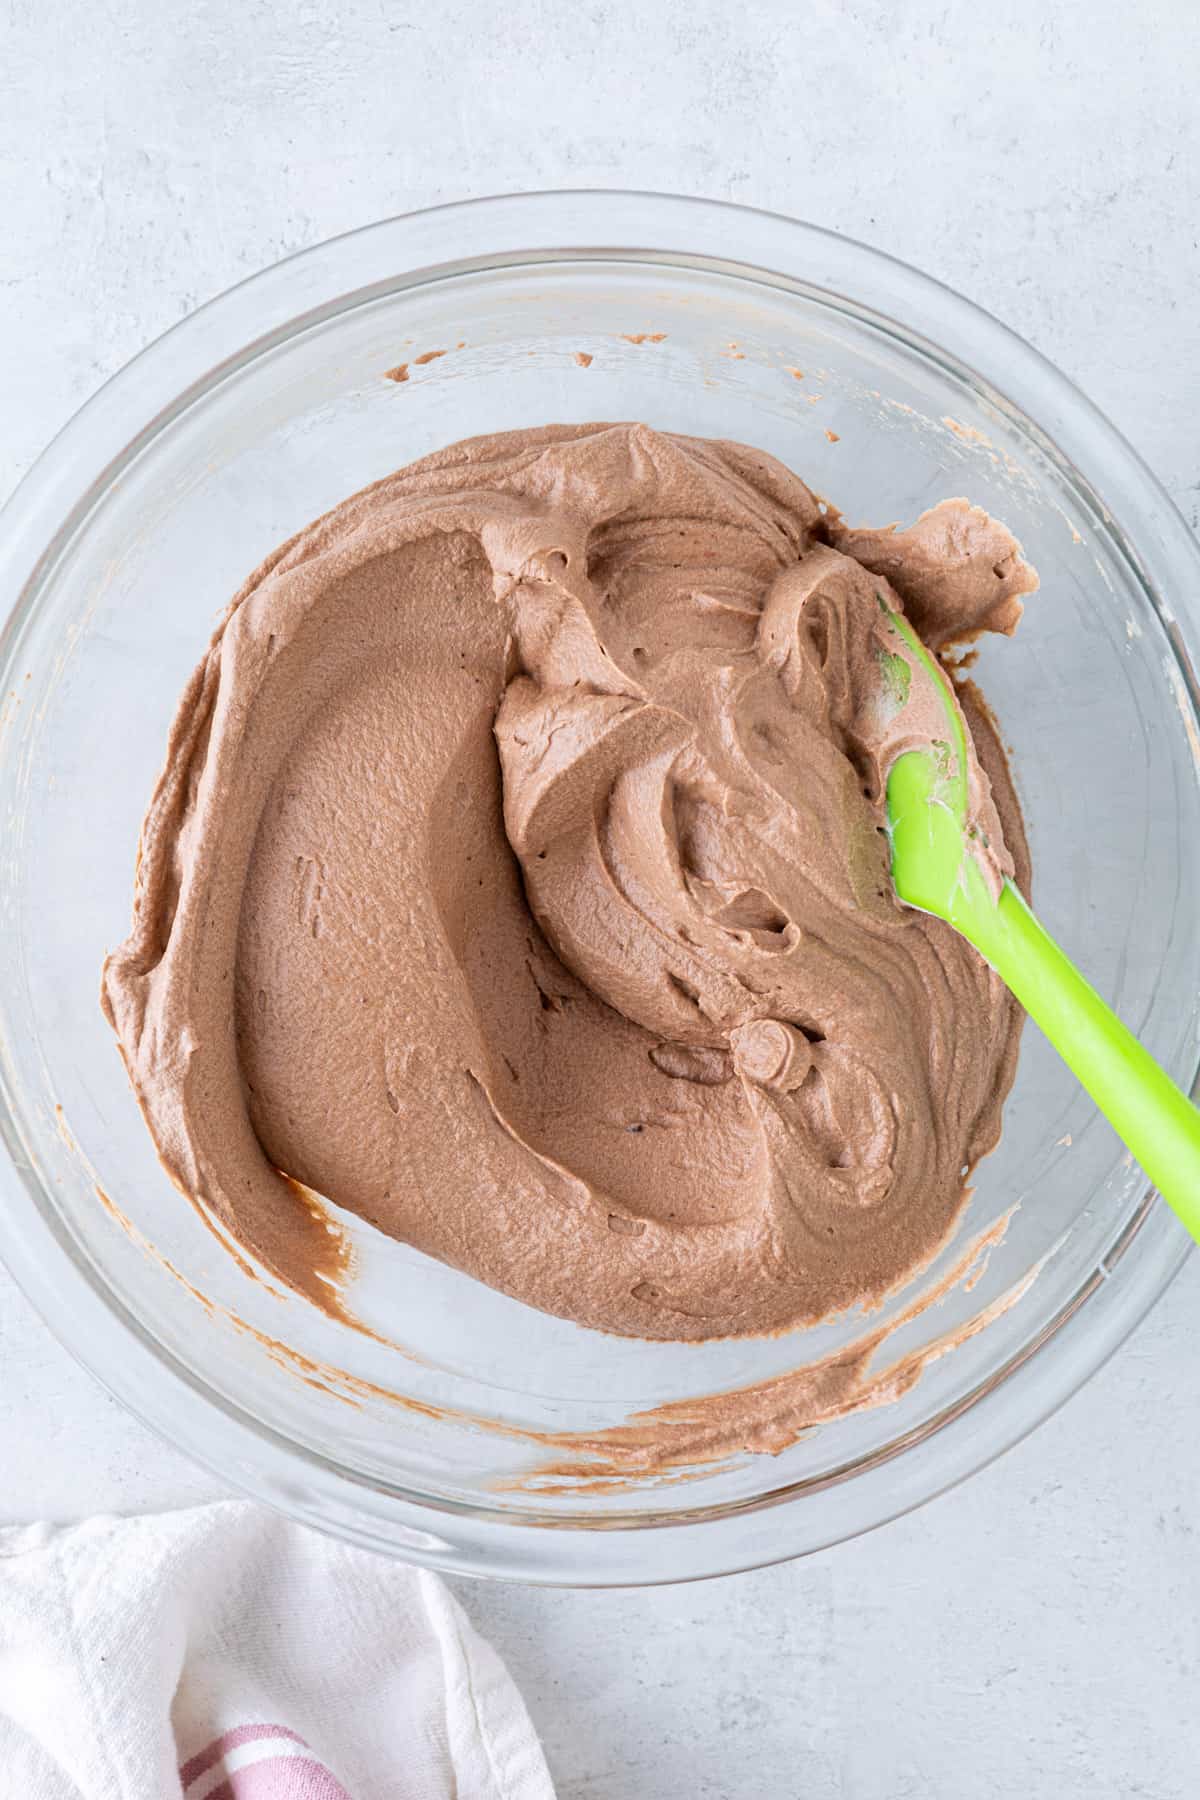
- Whisk cooled coffee, powdered sugar, and melted chocolate in a large bowl. Whisk the mascarpone cheese into the chocolate-coffee mixture until combined.
- Gently fold the whipped cream into the coffee-cheese mixture.
- Spoon or pipe the mousse mixture into desired serving glasses or jars. Refrigerate the mousse for at least 2 hours to set before serving.
Serving Suggestions
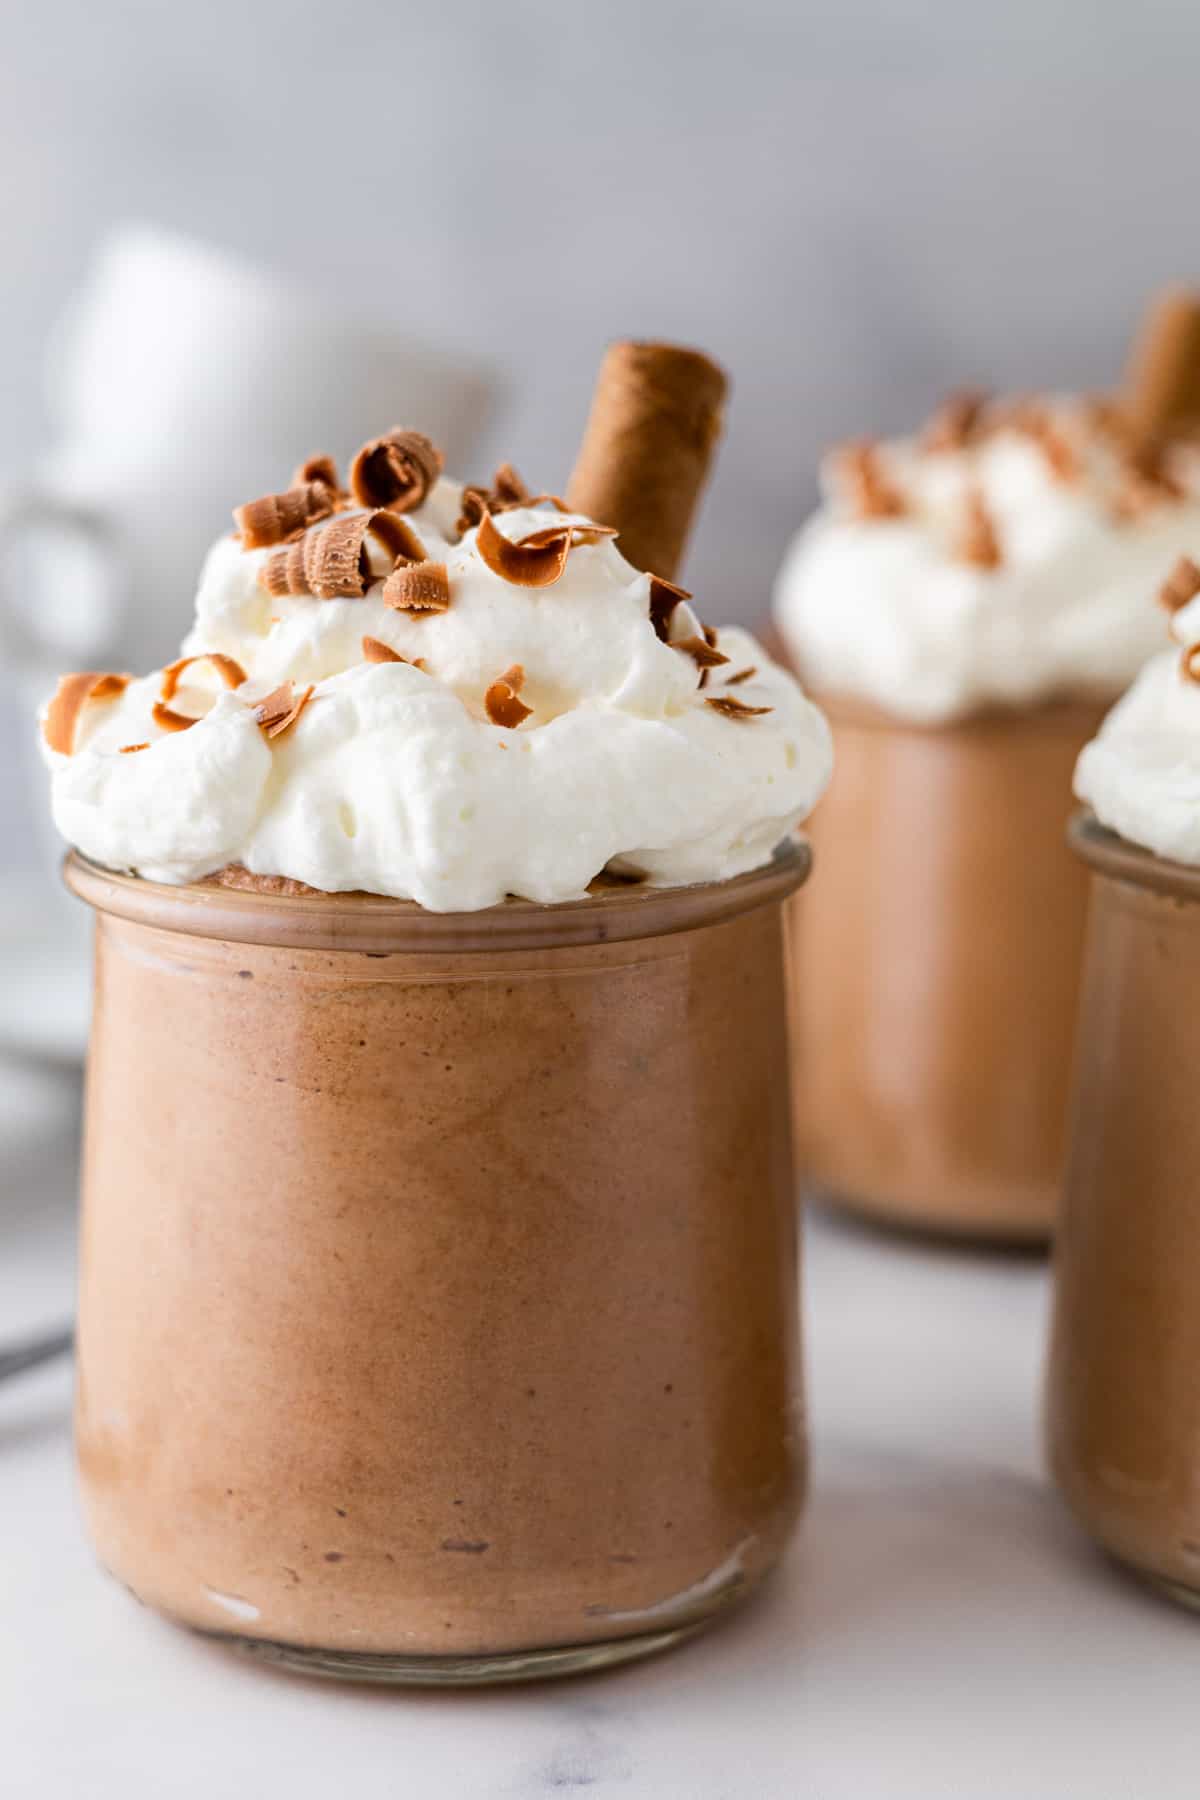
Coffee mousse is delicious on its own but even more so with toppings and garnishes-spoon or pipe mousse into one large dish or individual dessert glasses. Finish servings with a dusting of cocoa powder (as you would with tiramisu), or try any one of these topping suggestions.
- Whipped Topping: Top individual servings with whipped cream or homemade Chantilly cream and chocolate shavings.
- Cookie Base: Sprinkle chocolate cookie pieces at the base of each dish or jar for delectable crunch and texture variance.
- Dessert Sauce: Top mousse servings with ganache, chocolate sauce, salted caramel, or raspberry compote.
- Fresh Fruit: Finish mousse servings with fresh berries.
- Pie Shell: Spoon coffee mousse into a prepared Oreo cookie or graham cracker crust. Allow the pie to set for at least two hours. Top it with whipped topping and chocolate shavings.
Suggested Equipment
- Electric Mixer: Stand Mixer or Electric Hand Mixer
- Mixing Bowls
- Rubber Spatula
Storage
Transfer mousse to an airtight container or cover individual servings with plastic wrap. Store the mousse in the refrigerator for up to one week.
Mousse Recipes
- Easy Chocolate Mousse with Cocoa Powder
- Creamy Mango Mousse
- 2-Ingredient Nutella Mousse
- Peanut Butter Mousse
Expert Tips
- Chill the bowl and whisk attachment before whipping the chilled heavy cream.
- Heavy cream whips up quickly; oversee it as it whips to avoid turning it into butter.
- Ensure the espresso (or brewed coffee) and melted chocolate have cooled before adding them to the other ingredients.
- Gently fold the whipped cream into the coffee-chocolate mixture, and be careful not to deflate the cream.
- Chill the coffee mousse for at least two hours to allow it to set.
Frequently Asked Questions
Transfer the mousse to a freezer-safe airtight container and freeze it for up to 2 months. Eat mousse straight from the freezer, or thaw it in the refrigerator. Remember, though, that the thawed mousse will no longer have the same texture and consistency it originally had.
You want to melt chocolate slowly, stirring frequently, to avoid burning it. You can do this in two ways: on the stovetop or in the microwave.
Stovetop Method: Place chocolate pieces in a heat-safe small bowl over a small saucepan filled with an inch or two of simmering water (double boiler)-heat, stirring frequently, until the chocolate is melted.
Microwave Method: Place chocolate pieces in a small microwave-safe bowl. Heat the chocolate in 30-second increments at 30% power, stirring after every heat session, until the chocolate is melted.
If you make the recipe, remember to rate it, and let me know what you think in the comments below! Take pictures, tag #sugarylogic, and share them with me on Instagram or Facebook.
📖 Recipe
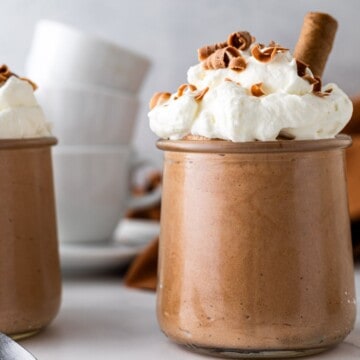
Coffee Mousse
Equipment
Ingredients
- 1 cup heavy whipping cream cold
- 4 oz semi-sweet chocolate melted and cooled
- ¼ cup espresso or strong coffee cooled
- ⅓ cup powdered sugar sifted
- ½ cup mascarpone
Instructions
- Whip the heavy cream using an electric mixer until stiff peaks form.
- Whisk cooled coffee, powdered sugar, and melted chocolate in a large bowl. Whisk the mascarpone cheese into the chocolate-coffee mixture until combined.
- Gently fold the whipped cream into the coffee-cheese mixture.
- Spoon or pipe the mousse mixture into desired serving glasses or jars. Refrigerate the mousse for at least 2 hours to set before serving.
Nutrition
Did you make this? Leave a review below and tag me on Instagram, Facebook, or Pinterest!


Thinker Pedia
Thinker Pedia I appreciate you sharing this blog post. Thanks Again. Cool.